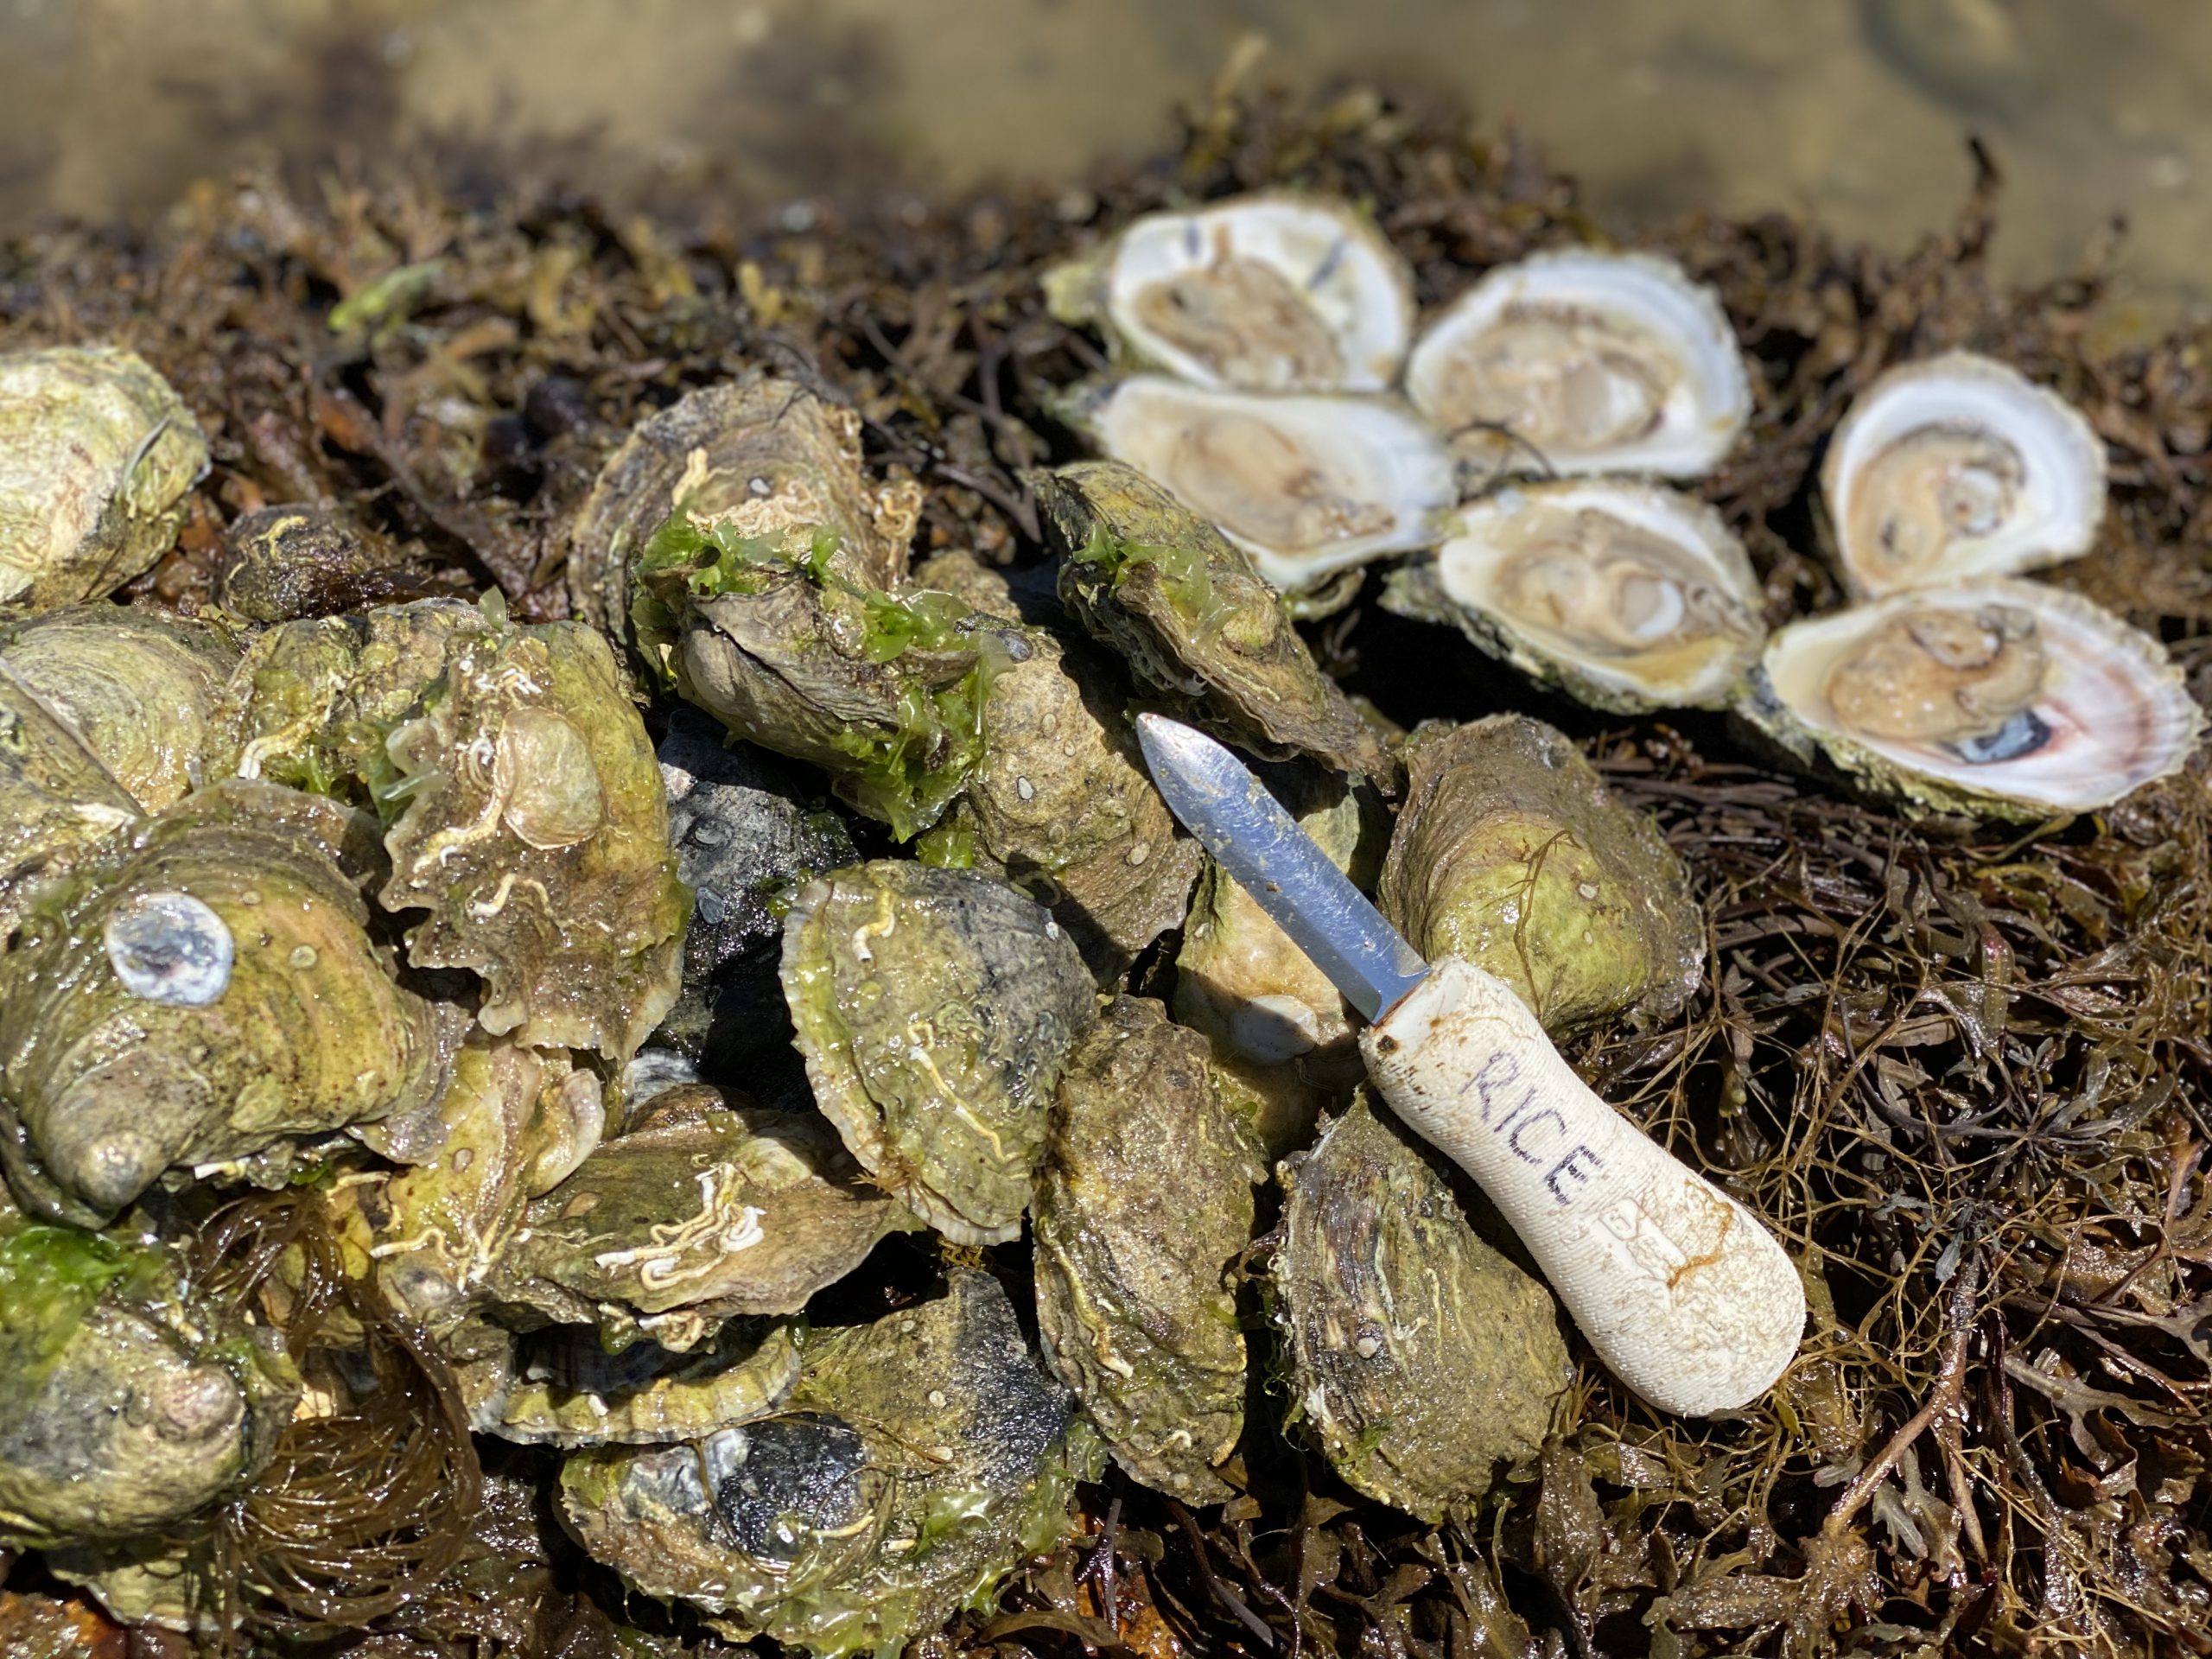
 Shucking takes some practice, but if you keep at it, you’ll figure it out. You may never be as fast as Chopper Young, six time Champion Oyster Shucker, but you’ll be fast enough to open one or two dozen at home without too much trouble.
Step 1: Get Set Up
The first step of shucking Wellfleet oysters is to get them covered with ice so they stay cold while you are shucking them. Safety never takes a holiday.
Next, fold a clean kitchen towel lengthwise into thirds. You’ll be using it to brace the oyster during shucking, and to protect your hand from an accidental slip of the knife. If you have a protective glove, that will work as well, but I prefer the towel.
If you’re removing the oysters from the shells completely, have a bowl for your oysters. This is where you’ll drop the shucked oysters and their liquor (the liquid inside an oyster). If you’re leaving them on the half shell, fill a platter or rimmed baking sheet with crumpled up aluminum foil to keep the oysters upright while you work.
Also, make sure you have a garbage can right next to you, or a large bowl for collecting the spent shells.
Step 2: Place the Oyster in the Towel
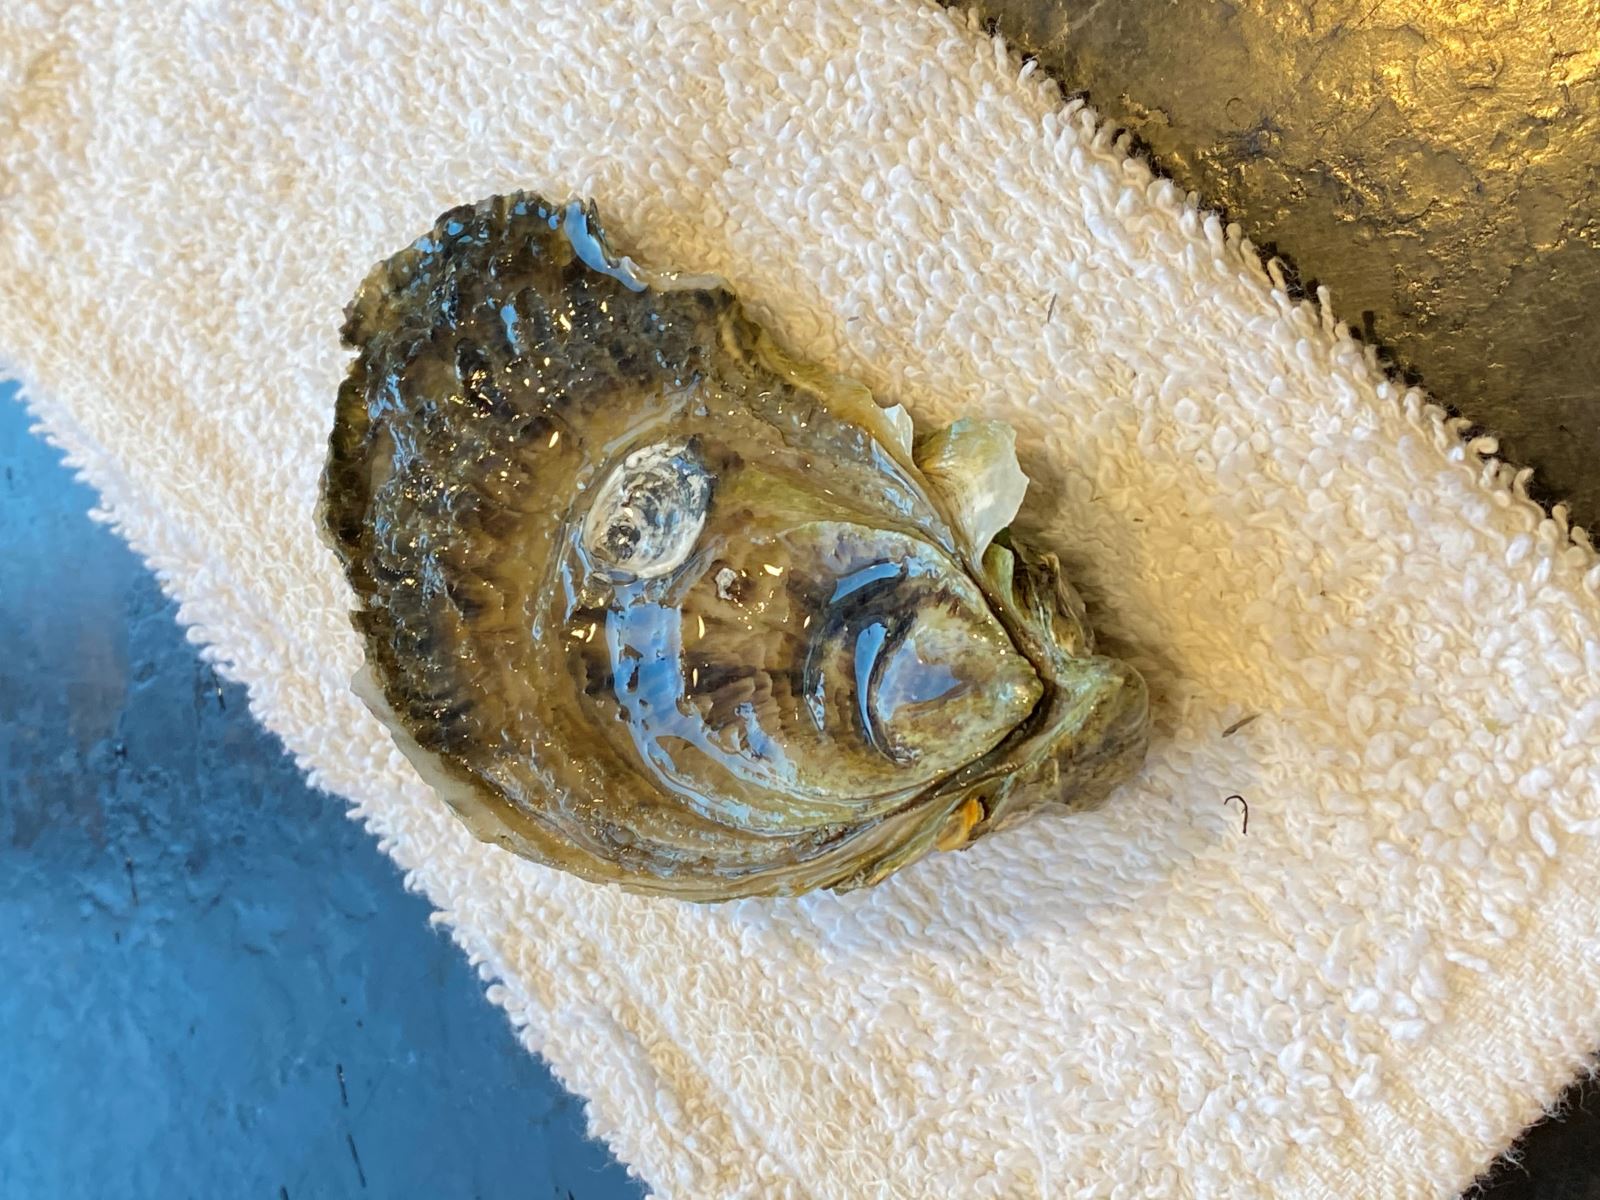
It’s time to grab your first oyster. You’ll notice that one side will usually be flatter than the other. The flat side is the top and rounded side is the bottom. If you are working with wild Wellfleet oysters, sometimes it will be more difficult to tell the difference, so just wing it.
Set your oyster bottom side down on the folded towel so the more pointed end of the oyster faces your knife hand.
Now fold the towel over the oyster so that only the hinge is exposed, and place your nondominant hand on top to hold it steady. Try to bunch up the folded towel in front of that hand—if the oyster knife slips, that towel is the only thing preventing your hand from getting jabbed, so make sure it’s protecting you.
Step 3: Place the Oyster Knife Tip in the Hinge
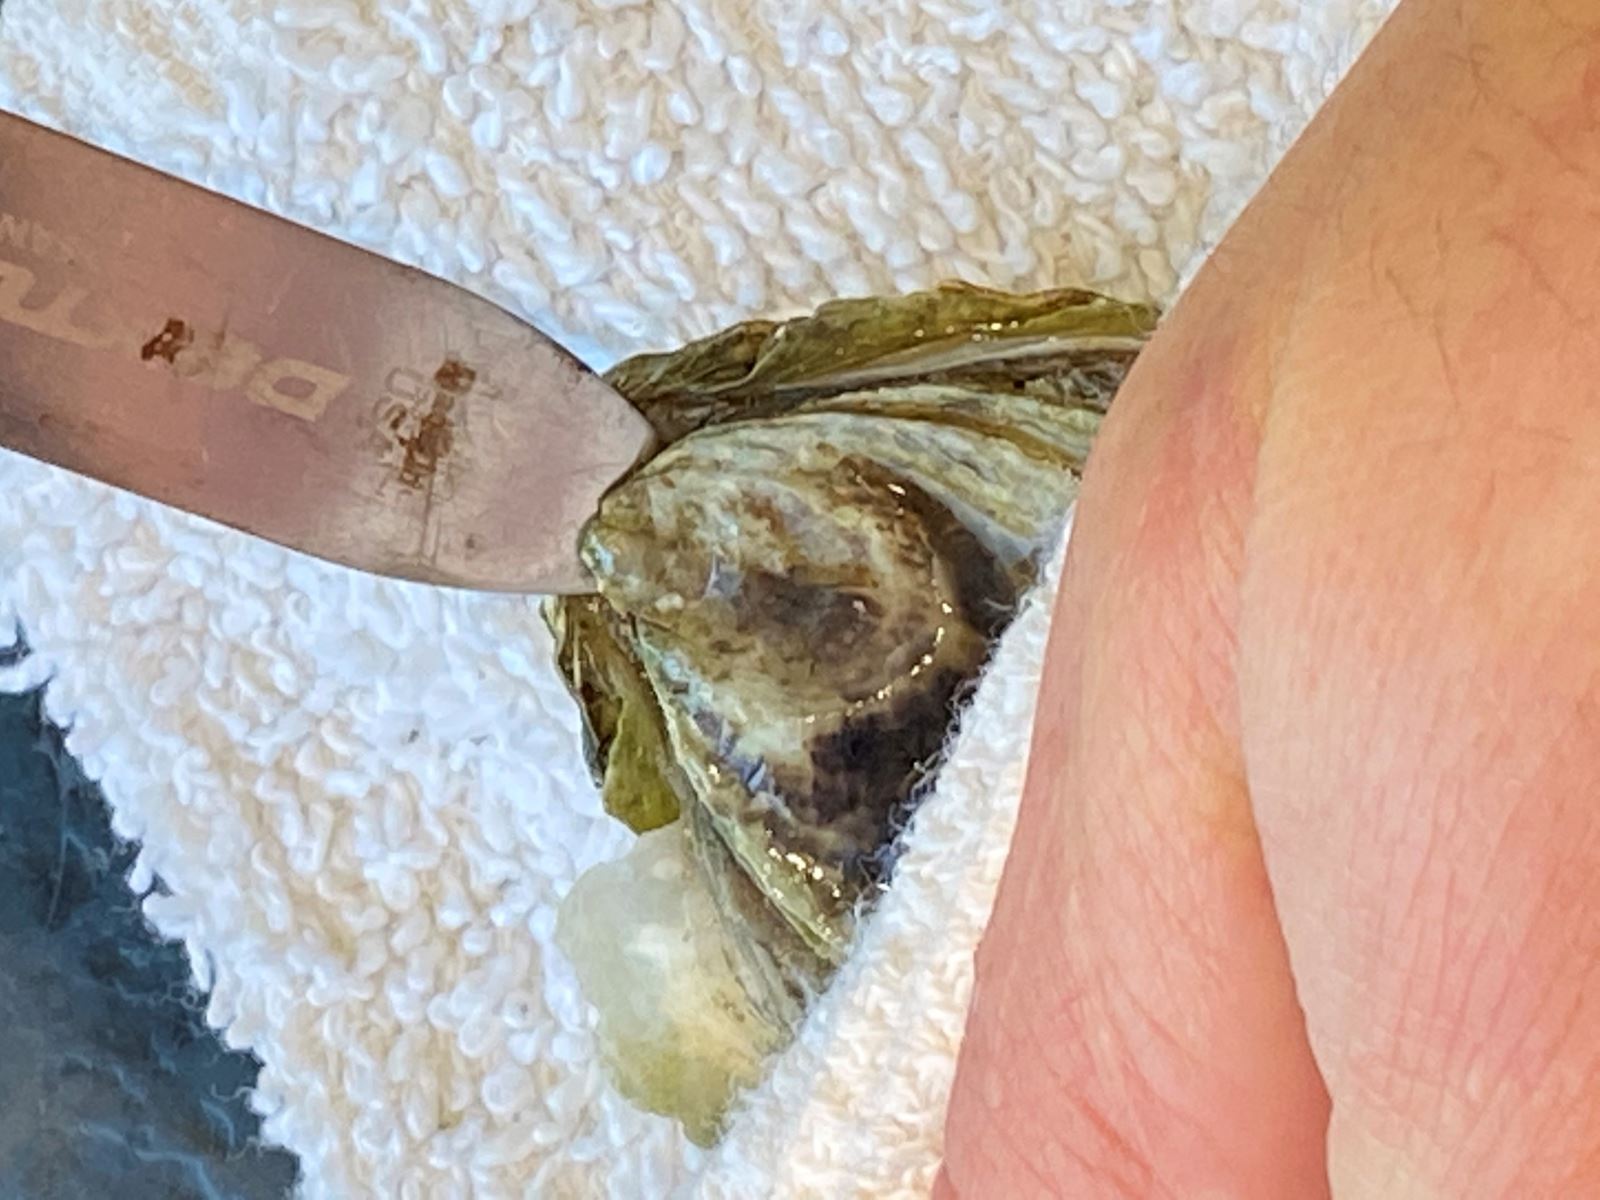
Work your oyster knife into the hinge. This is the part that takes practice. Like a rock climber seaching for a handhold, you’re trying to find a sweet spot in that hinge where the knife can get some leverage. Wiggle the knife around until you feel like you can exert some pressure against both the top and bottom shells at once by twisting and prying the knife.
Step 4: Run the knife down the side
 Once you feel like you’ve got the knife tip solidly in place, work the oyster knife up and down cutting the top mussel that holds the shells together.
Once the shells have popped, you’ll usually have a very narrow opening— the oyster may have lost the ability to shut its shell completely, but it’s still not opening wide for you. Twist your knife so that the broad flat of the blade pries the shells apart even more.
Once you cut the muscle, you should be able to pull the top shell off. Use the knife to free any oyster meat that is still clinging to the top shell, trying your best not to damage the oyster in the process.
Step 5: Throw Out the Top Shell and Inspect the Oyster
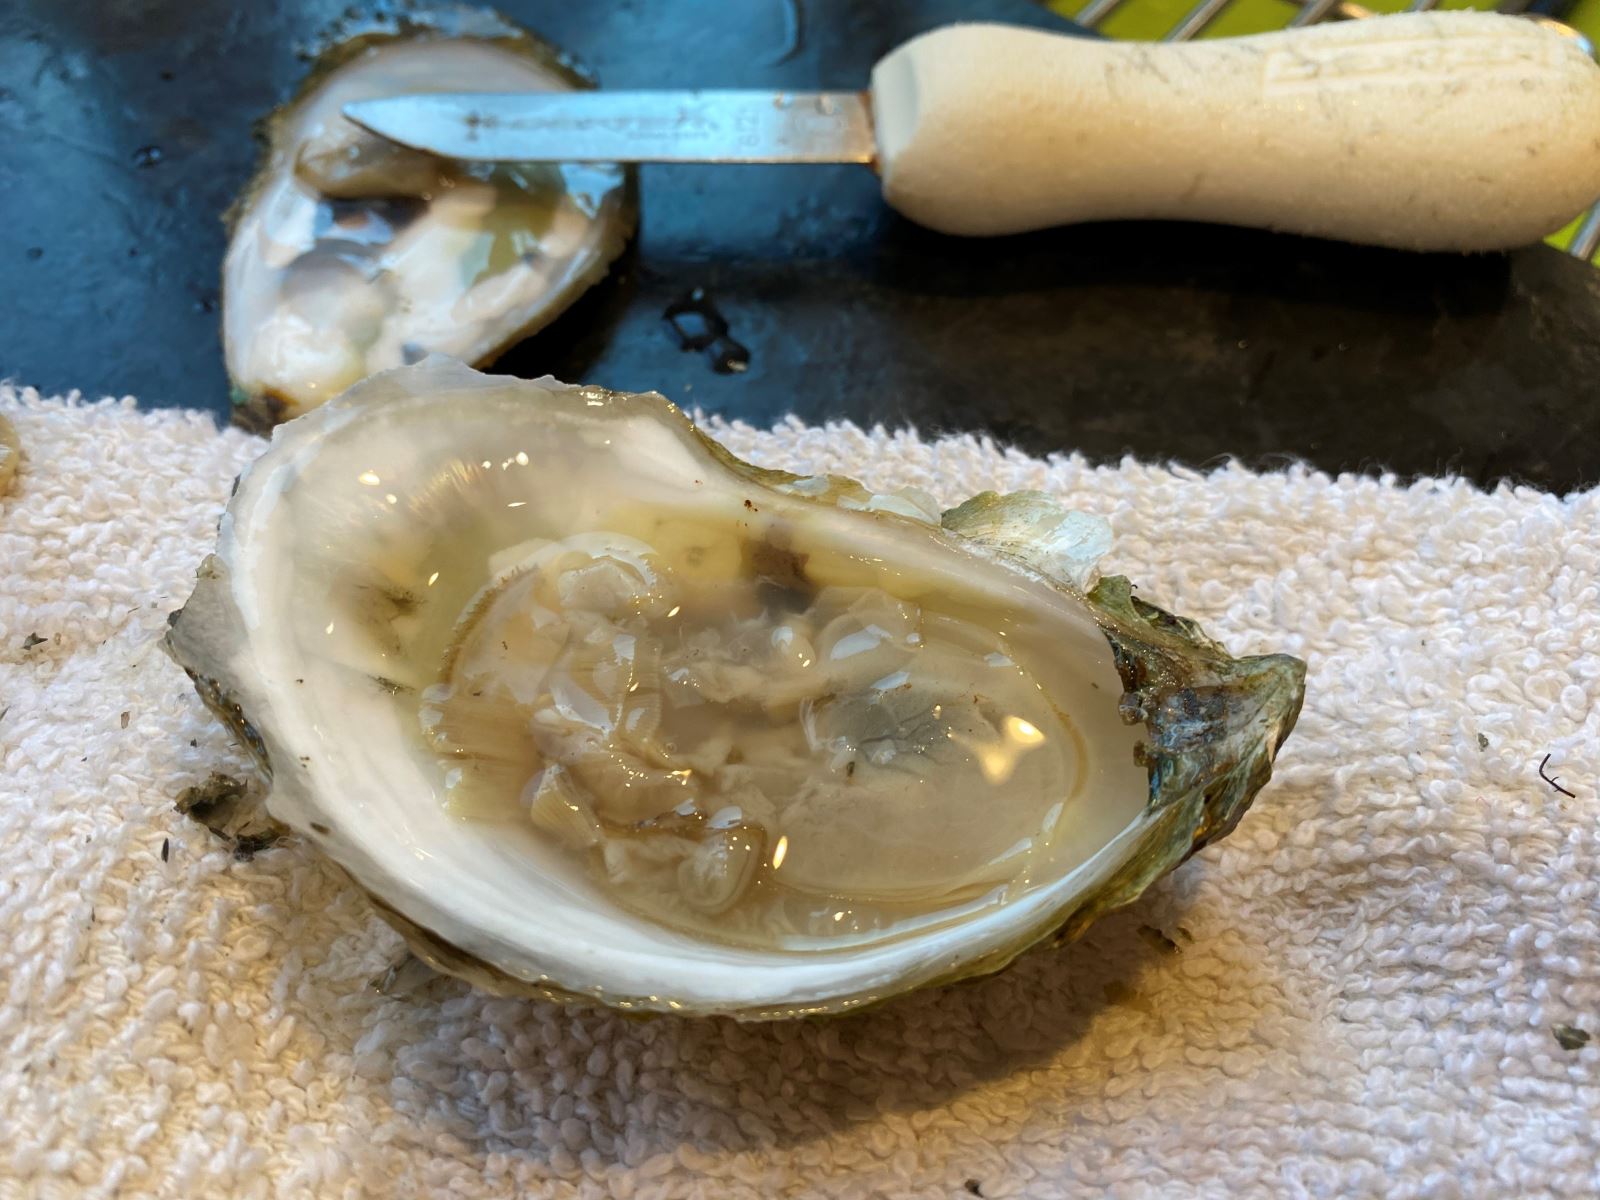
Get rid of that top shell, because you’re done with it. Now look at your oyster. It should look clear and fresh, with plenty of liquid around it. Smell it, and throw away any oyster that smells off or looks dry.
Also inspect the oyster for any shell fragments that got onto it when you popped it open, especially near the hinge. Use the tip of your clean oyster knife to discard them.
Be careful not to tip the oyster and lose all its liquor when you handle it.
Step 6: Free the Oyster From the Bottom Shell
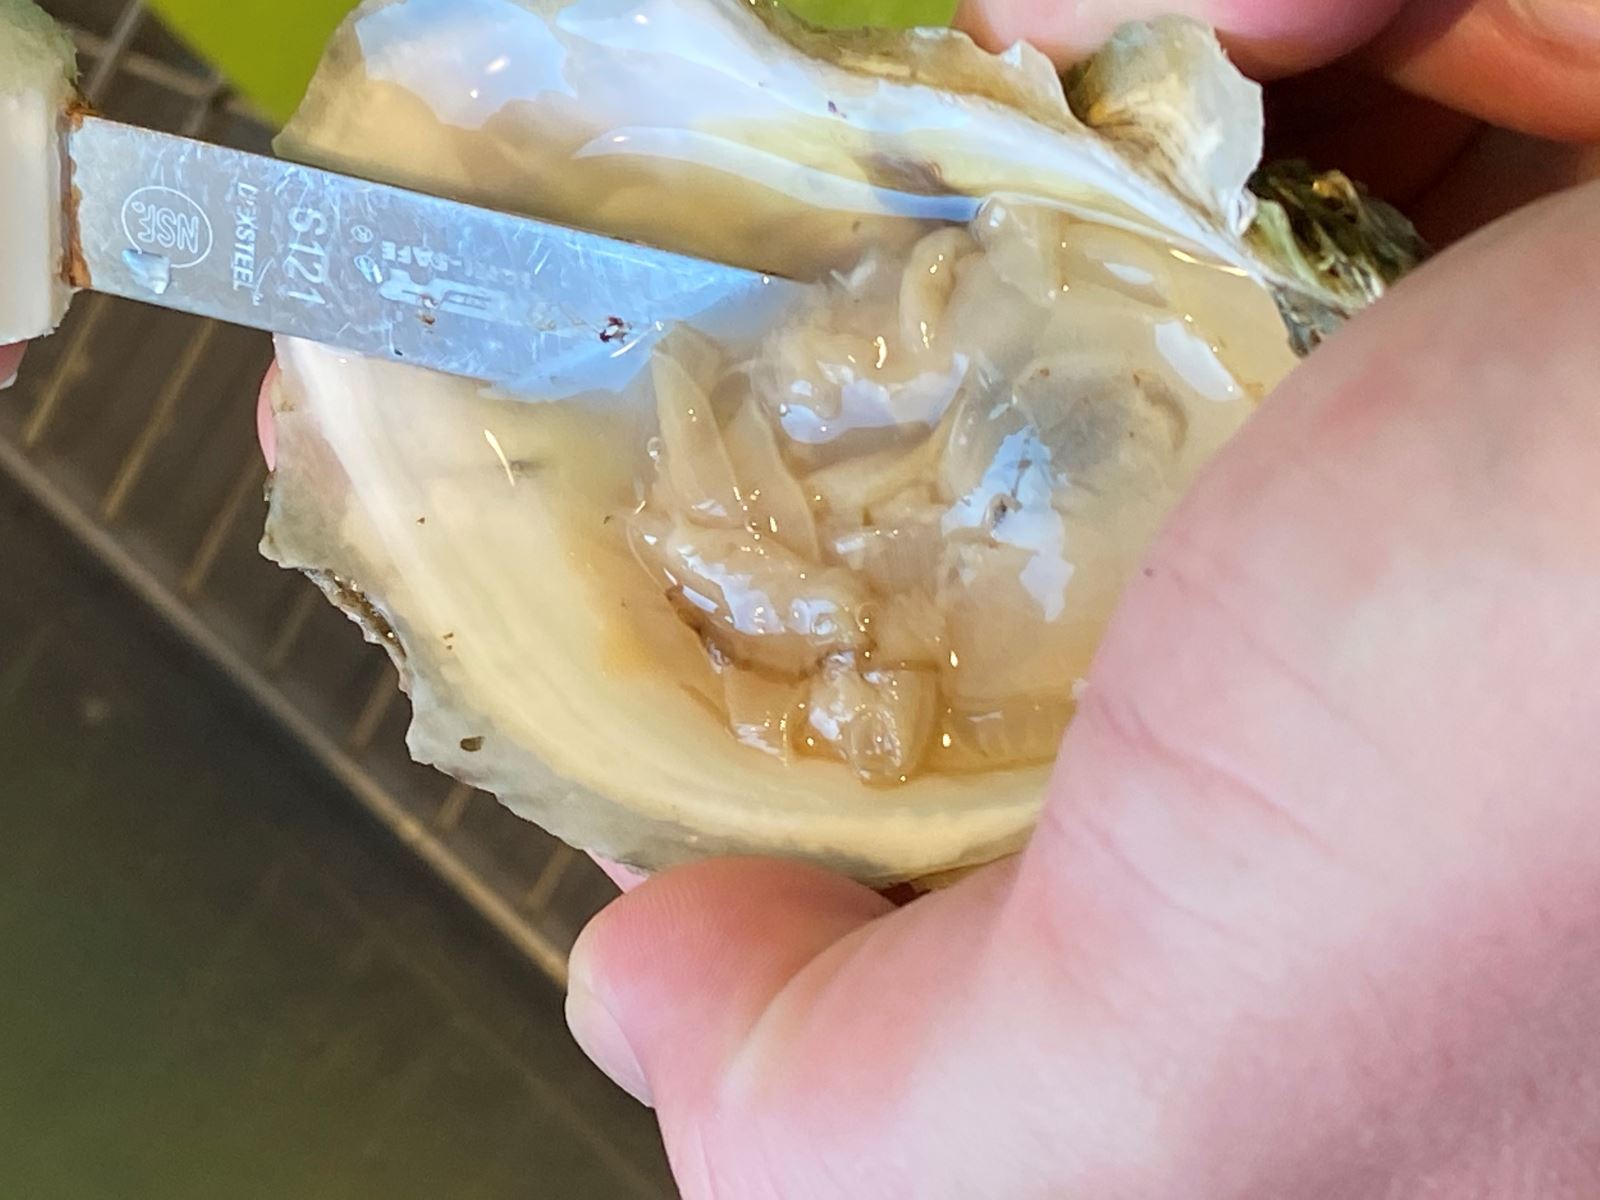
The final step is to slide the knife under the oyster, severing the muscle from the bottom shell. (Otherwise, it won’t slide out straight into your mouth, which is where it would be headed) Push the oyster around to make sure it’s totally free in the shell. You can also turn the oyster over if the top of the meat was cut during opening.
Now set it on your prepared platter, if eating them on the half shell. Or slide the oyster and its liquor into the bowl, and throw out the bottom shell. Grab your next oyster and repeat.
“So, have you heard about the oyster who went to a disco and pulled a mussel?”
—Billy Connolly
This articles was excerpted from The Wellfleet Oyster Cookbook.
Bill Rice is the author of The Wellfleet Oyster Cookbook and is founder and Co-Publisher of the Great Family Cookbook Project, a website that helps families and individuals collect and share food memories through customized printed cookbooks filled with treasured recipes. Follow us on Facebook, Instgram, YouTube and Pinterest!

