One of the questions we at FamilyCookbookProject.com get a lot is “Any way to remove blank pages that I will be charged for in printing?”
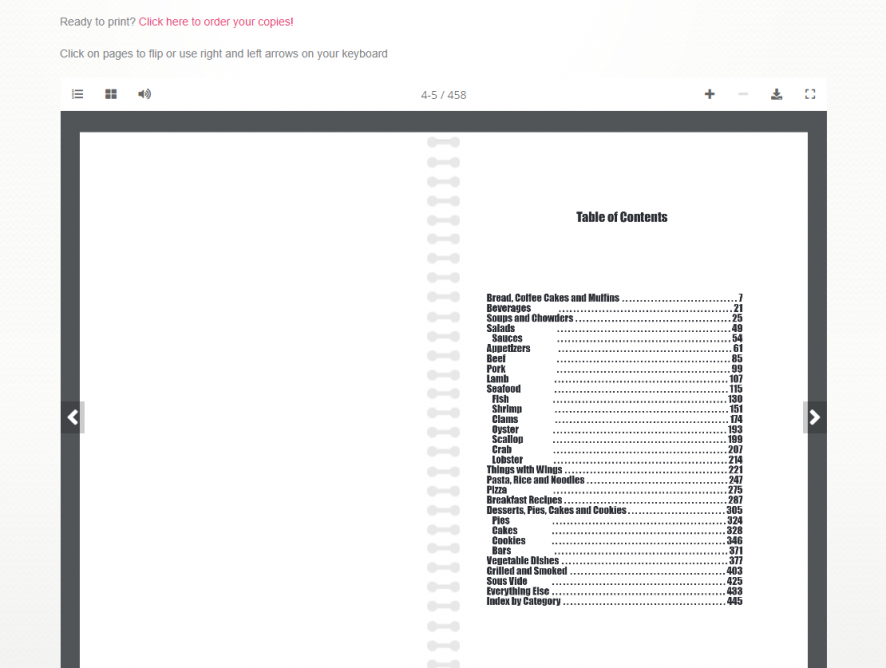
While removing a few extra pages might save you a few pennies when printing, almost all blank pages are needed. In the publishing world, certain pages need to start on the right side of a two page layout. The Table of Contents and Category Dividers are two examples of these types of pages that always are placed on the right side of a two page layout.
If you run your preview and look at the 3D Preview, you’ll see that almost all blank pages are the end of sections to leave the new sections to start fresh.
In terms of the recipes categories, if the last page of a recipe category is blank, that page was placed there so as to have the next category starts on the right page side. However, if you add additional recipes to that first section, the blank page may come and go depending on the number of recipes in the section.
You have an option of adding a photo using the Cookbook Picture Manager or a custom page using the Custom Pages Tool to the “end” of any recipe section. That can help fill the blank page. However, if you have not finished the section and add/edit recipes, you may end up with a blank page after your photo/custom page, so wait until all of your recipes are added before considering adding any custom pages.
Another way to eliminate blank pages on the back of recipes dividers is to include our “Helpful Tip” content on the back of the dividers or to add family photos and set the location in the Photo Manager Tool to the back of the divider.
You also have the option to start the recipes on the back of the divider. This is done in the Layout and Design Center of your editors homepage. Select “Select Dividers” from the Frist Steps section and check the box for “Start recipes on divider back.” This is also where you can turn on and off “Helpful Tip”.

